The West Fork of the Hood is commonly considered the best Class IV run in the Columbia Gorge. It has everything - beautiful scenery, clean rapids, and fairly easy logistics. The only downsides of this run are that wood is common, there is a mandatory portage around a fish ladder, and a five minute hike out at the take-out.
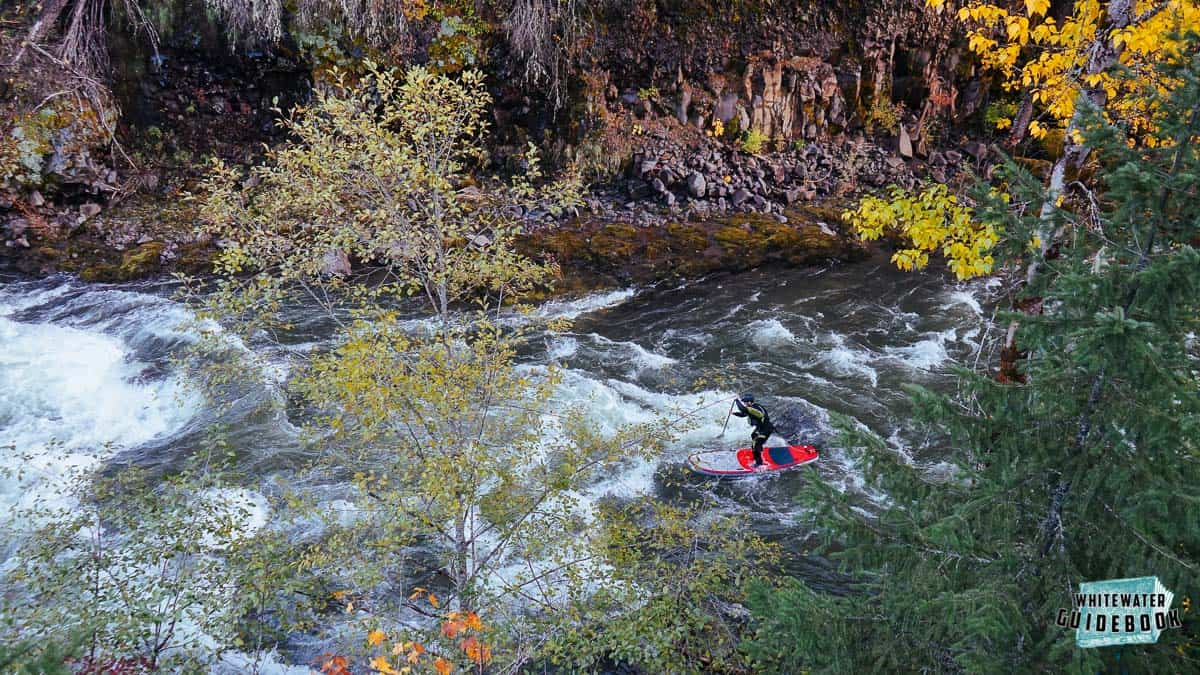
SUP on the West Fork of the Hood River
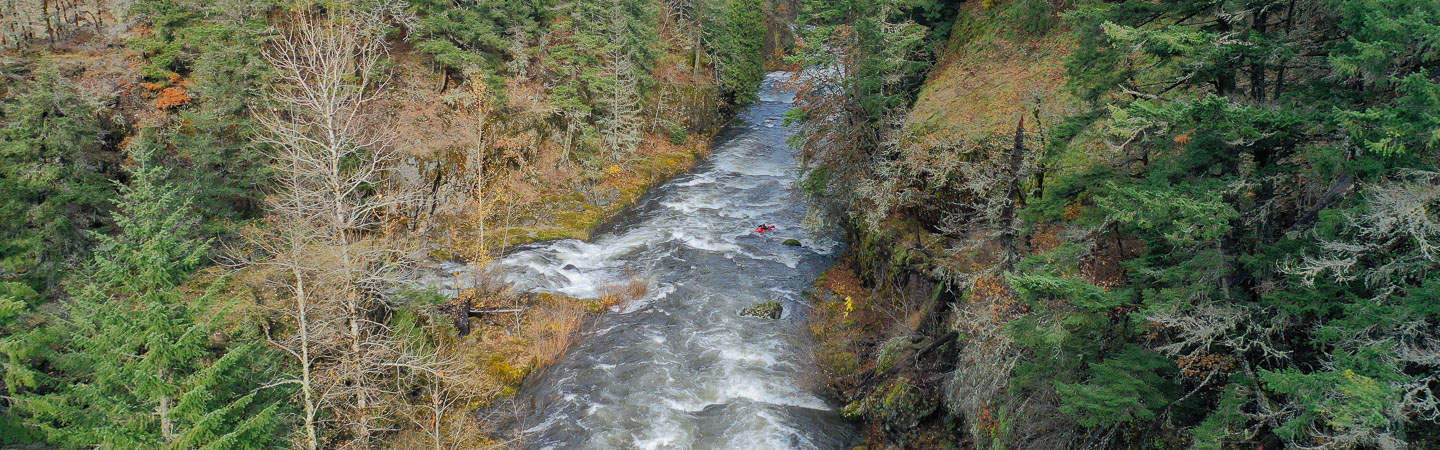
The basalt canyons and basalt bedrock are what make this run special. The basalt geology makes for some beautiful canyons and fun rapids with clean drops.
Trip Highlights
Mile 0: The most commonly used put-in is located at the confluence of the Lake Branch and the West Fork of the Hood River just off Lost Lake Road. Follow a dirt road on the left after you cross the Lake Branch to a small parking area.
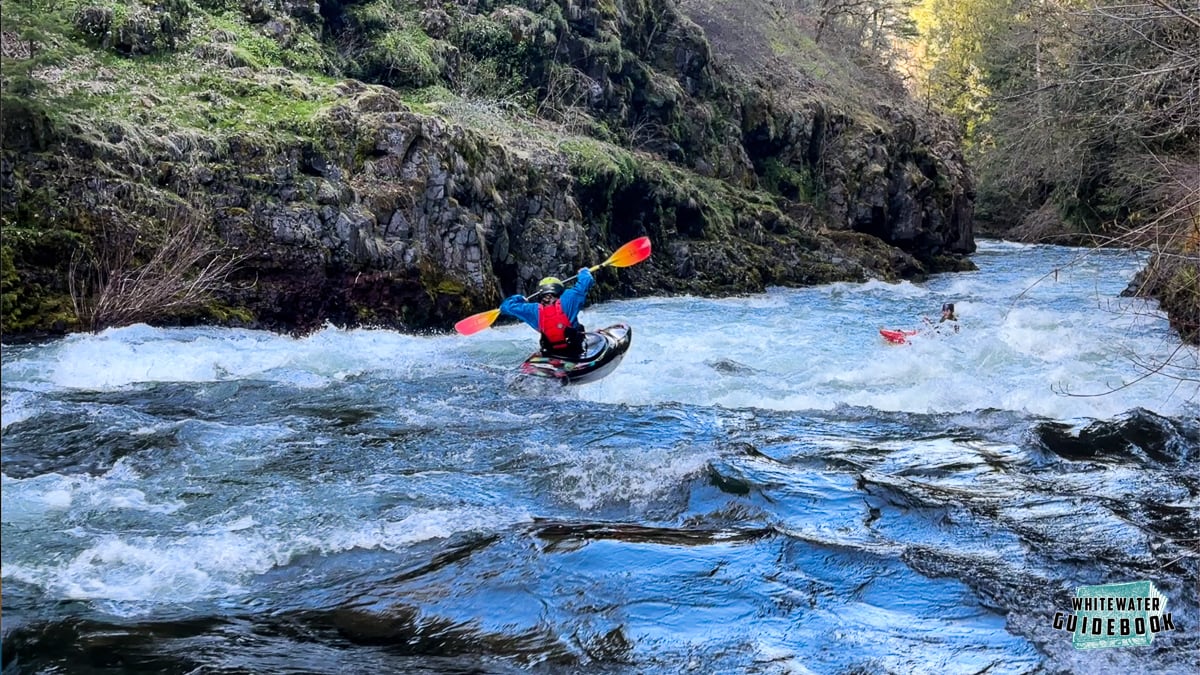
Mile 0.3: The canyon walls steepen as you enter the first basalt gorge of the West Fork. This 0.4 mile gorge is punctuated with back to back Class IV rapids created by basalt bedrock. Basalt Drop (IV-) is a fun little drop in the middle of the first basalt gorge.
Mile 1: A bridge over the river provides an alternate put-in or take-out just downstream of the bridge on the left.
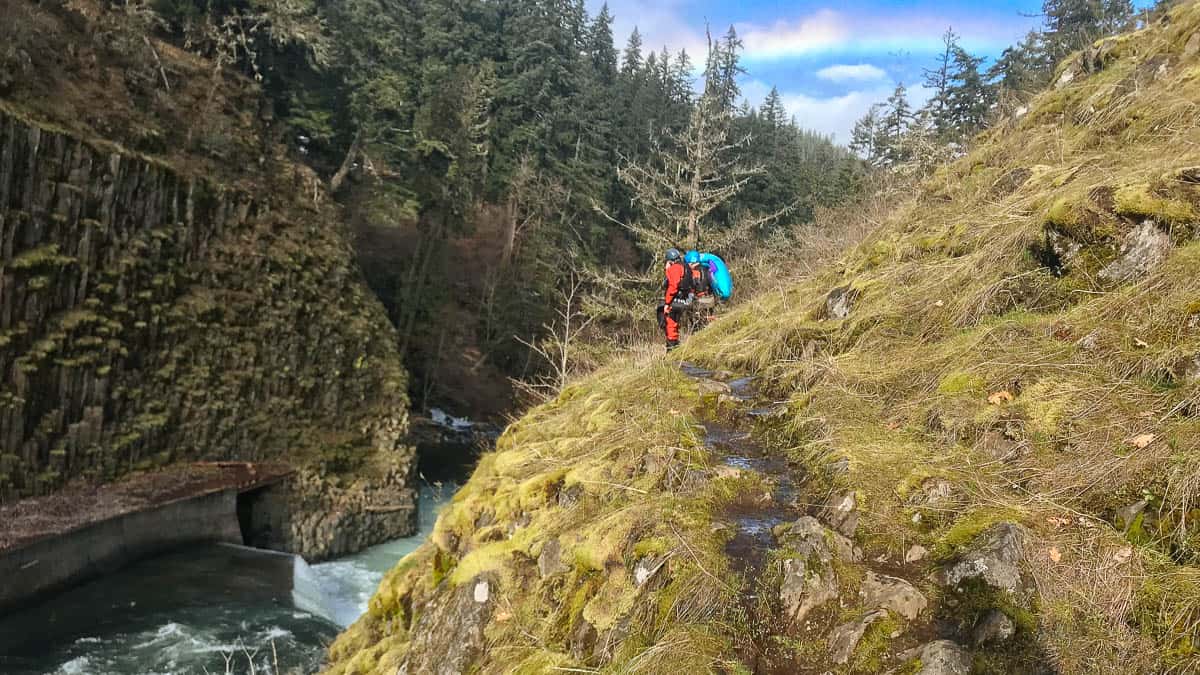
Mile 3: Fish Ladder (Portage) is a mandatory portage on the left bank around a fish ladder.
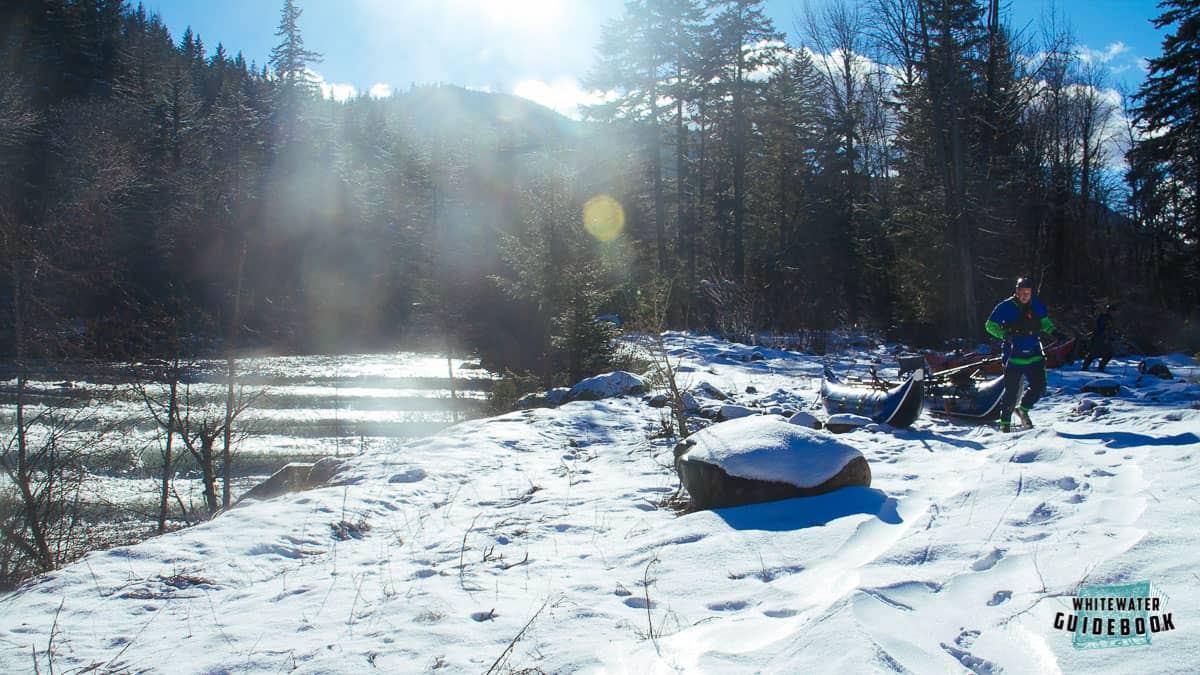
Portaging the fish ladder in the snow
Mile 3.4: Boulder Drop (IV) is a long rapid with many possibly lines that is commonly considered the most difficult rapid on the run. The next 2 miles contain nearly back to back Class III and IV rapids.
Mile 4.3: Green Point Creek enters from the left side. The Beat Down Hole (III) is the second rapid below the creek and worth paying attention to.
Mile 4.4: The Beat Down Hole (III) is easy to miss by driving right. If you go left prepare for a long surf in a kayak or a flip in a raft or cataraft.
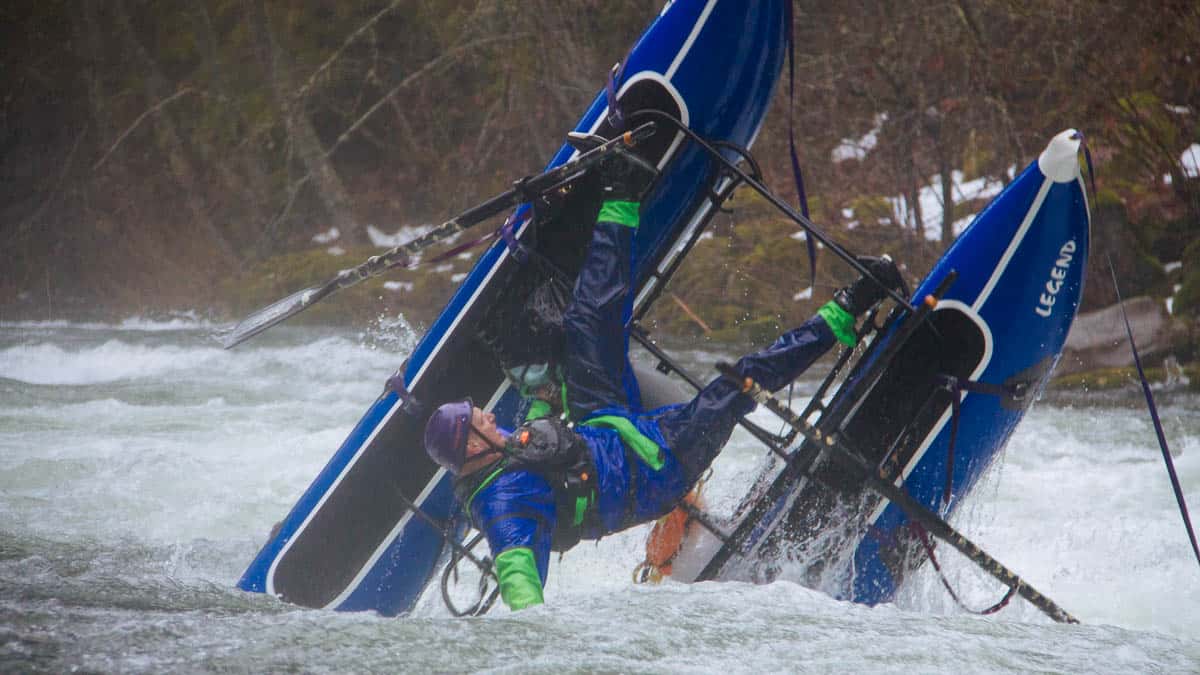
Cataraft flip at the Beatdown Hole on the West Fork of the Hood River
Mile 4.95: Mayhem Rapid (III+) comes at the end of a nearly half mile continuous section of fun whitewater that begins soon after the Beat Down Hole. There is a wall on the right that can cause problems and would be good to avoid. Most paddlers catch an eddy on the left after this rapid to boat scout Boof Drop.
Mile 5: Boof Drop (IV) is a fun rapid that comes up after a long, fun section of continuous whitewater. Most groups eddy out on the left above this rapid to regroup. At medium flows there's a fun boof in the middle of the river at the bottom of the drop.
Mile 5.2: Boof or Consequences (III+) is a pretty straight forward rapid unless you go for the boof at the top. You can try and boof either the right or left side of the rock but you may end up getting side surfed in the hole below it if you mess up.
Boof or Consequences on the West Fork of the Hood River
Mile 5.3: Final Drop (IV) is a fun maelstrom of whitewater between two basalt canyon walls. A bridge high above the river lets you know you're at this rapid.
Mile 5.4: Take-out on the right just before Punchbowl Falls. Walk up a trail through Punchbowl Falls County Park to the parking lot.
Scouting Punchbowl Falls on the Take-out Hike
Mile 5.45: Punchbowl Falls (V) is a small waterfall that ends in a nasty hole that can be portaged on the right at moderate flows.