Pro Tip: Neoprene Repair
While a hole in your favorite spray skirt, wetsuit, or neoprene item isn't the end of the world, it can be annoying. Even the smallest of holes in a spray skirt can let in an impressive amount of water. Luckily Gear Aid has a nice and simple D.Y.I Iron-on Neoprene Patch Kit. From small pin holes to large gashes this kit has what you need to get that gear back "like new" condition.
Neoprene Patch Tools
- Iron
- Scissors
- Gear Aid Iron-on Neoprene Patch Kit
- Flat heavy object (cast iron skillet, bacon press, or something similar)
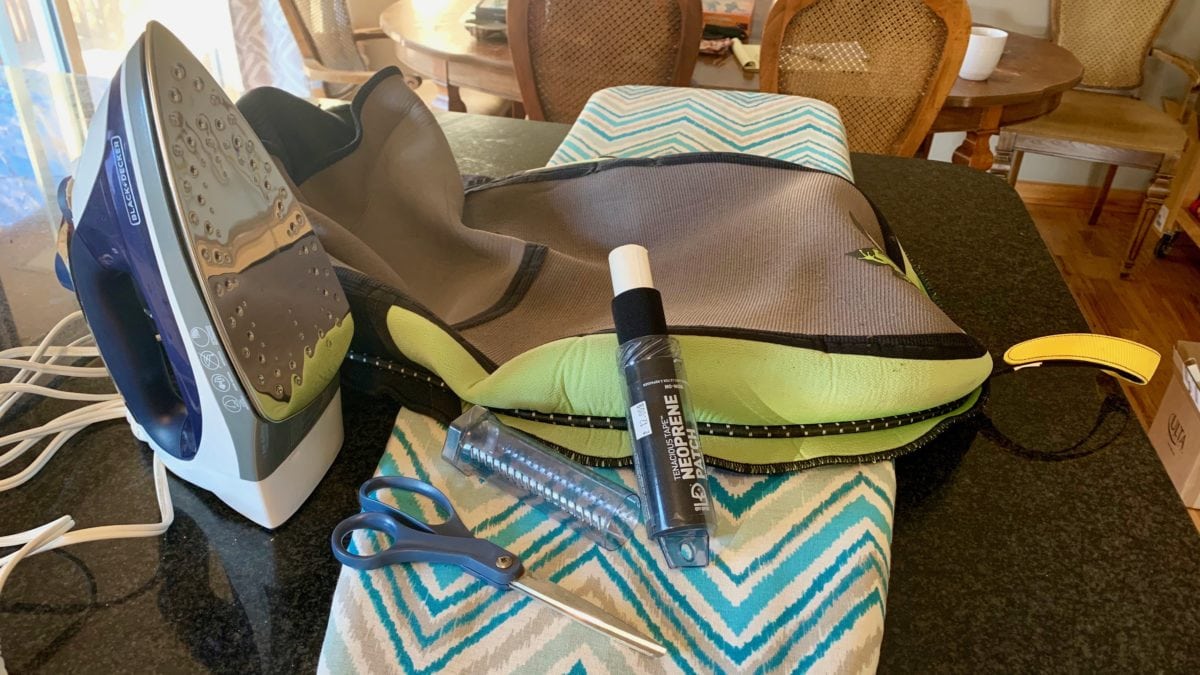
Tools Needed
Step 1: The Patch
The size of the hole/tear will help determine the size and shape of your patch. Make your patch 1/4"-1/2" larger than your hole/tear. Rounded edges on the patch tend to last longer because they do not catch on things and try to remove the patch. I really like drawing my patches out using some sort of circle template. For this patch I used the lid to a spice container.
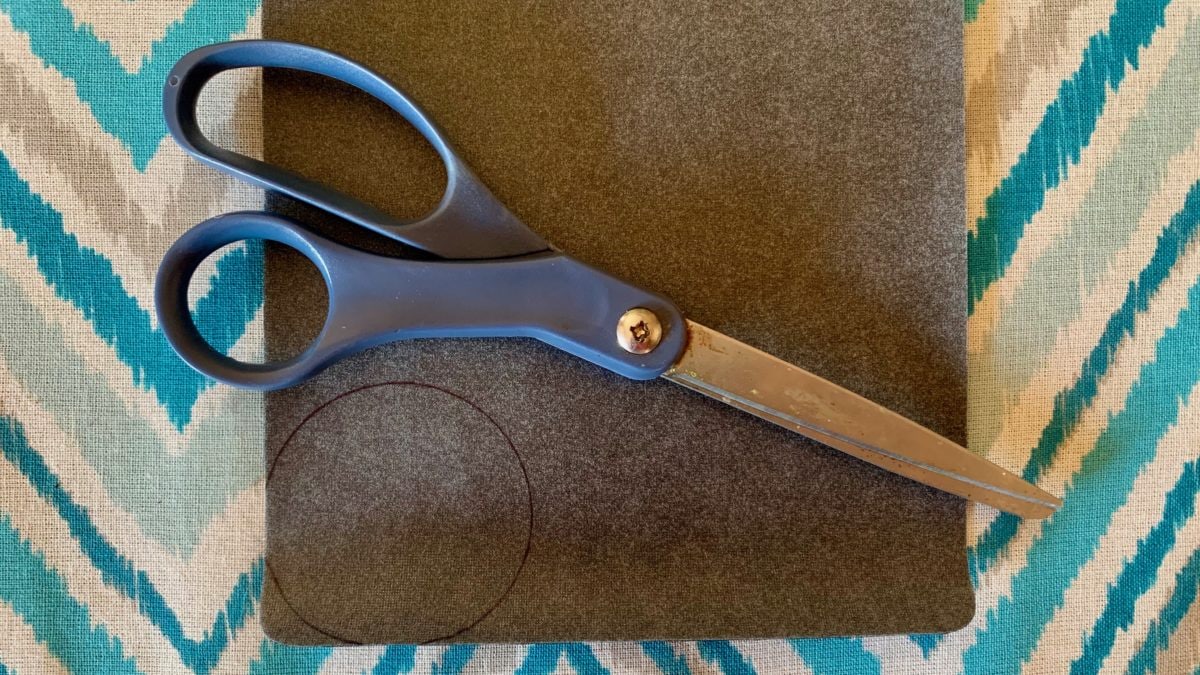
Make Your Patch
Now, mock up the patch to make sure you have made it larger enough. Center it over the hole/tear for best results. Remember, it doesn't have to be a circle. Keep those edged round! If you have a large hole think about adding some neoprene to the hole. Also think about added a patch the other side for added strength.
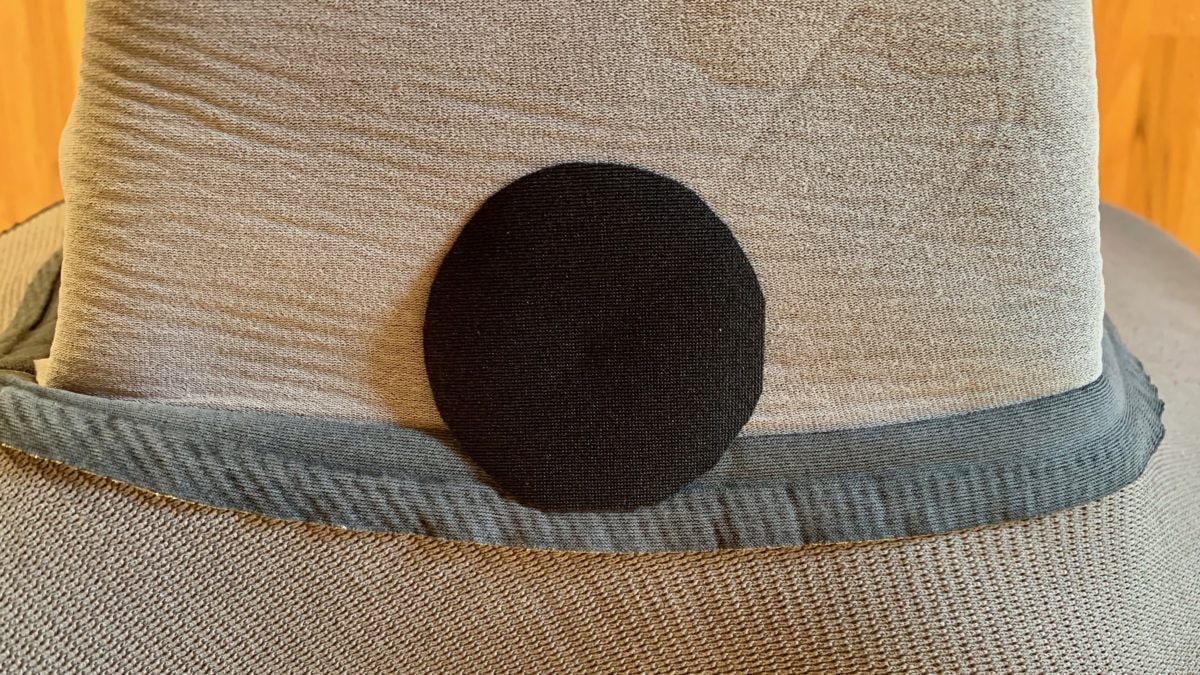
Perfect Patch
Step 2: Iron Time
Your iron doesn't have to be fancy, just something with a low to medium heat setting. Get it plugged in and heated up before you try pressing the patch on. Once it is pre-heated place the heat shielding paper on top of the patch. Press over the heated iron over your patch. Be careful not to touch the iron directly to any neoprene as it may burn. Hold the iron down firmly for 10-15 seconds. Adjust to make sure you are completely covering the patch and repeat. Don't be afraid to peak at the patch to make sure you are heating up the entire surface. The entire patch should be adhered now.
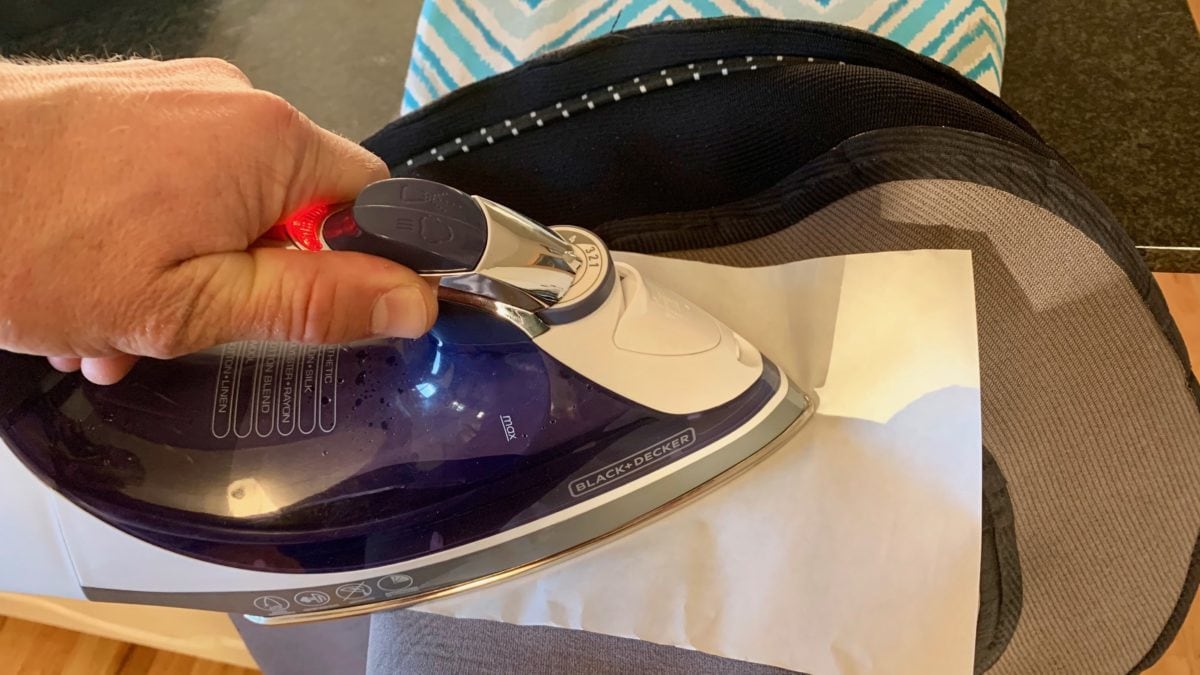
Heating The Patch
Step 3: Add Weight
Adding some weight to your patch while it cools can help insure a solid patch. I used a cast iron skillet with a nice flat bottom weighted down with some cans for this. If any of the edges didn't adhere you will notice them at this stage. Get that iron back out if needed!
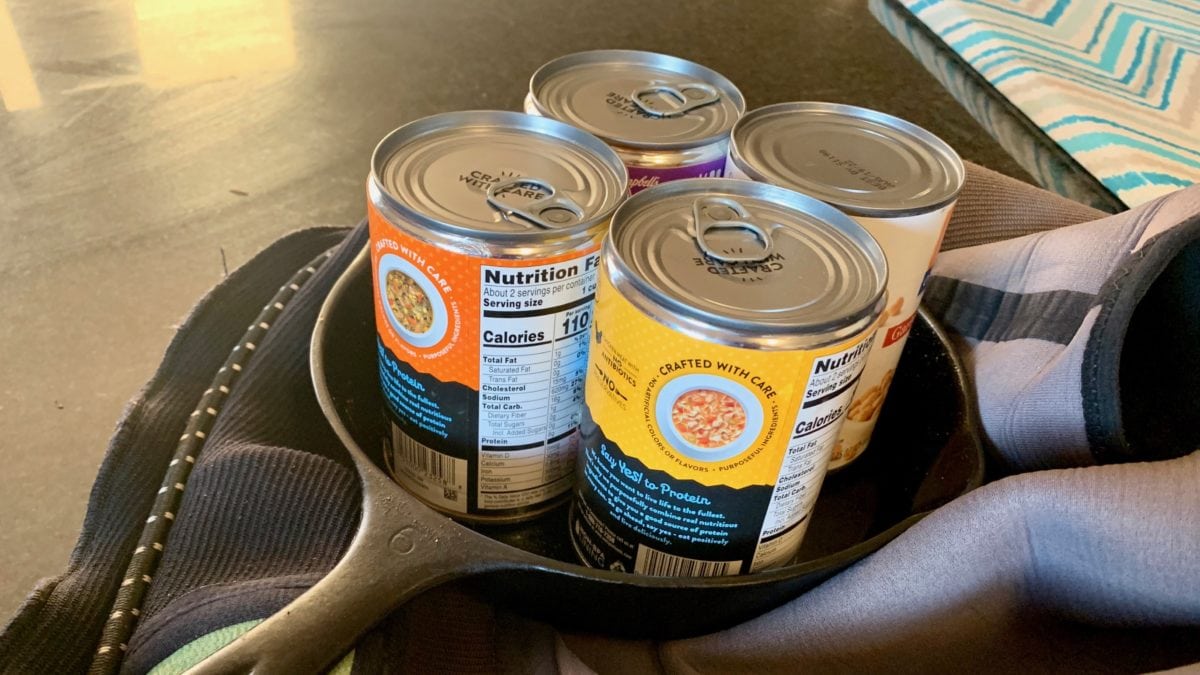
Add Some Weight
Step 4: All Done
After your patch as cooled for a few minutes give it a test pull in all directions. If you missed any spots go back to step 2. Hopefully all your holes/tears are now gone.
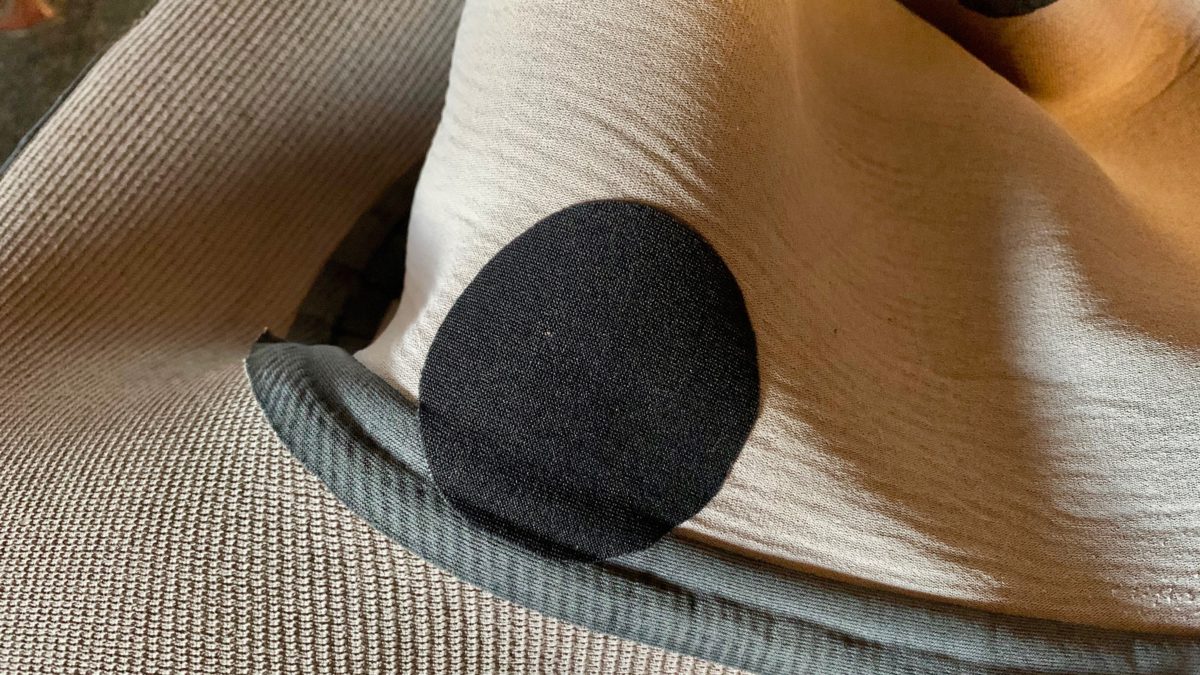
All Done
While you may not carry an iron while in the backcountry you could still use this kit if needed. Heat up your cooking pot/pan and use it has an iron. Does anyone have and other tips or tricks out there? Leave a comment below.