Pro Tip: Wooden Oar Maintenance pt. 1
Wood has been used to makes oars for about 7,500 years. Through the decades material choice has shifted a bit more to composite materials. However, a nice set of wooden oars will give you loads of style points on the river while lasting a long time. While they are not maintenance free a little love and attention will keep your oars in great shape.
Tools
- Metal scraper
- Sander
- Sandpaper - 60, 220, 320 grit is what I used
- Varnish
- Brush
Please keep in mind, I am not a woodworking expert.
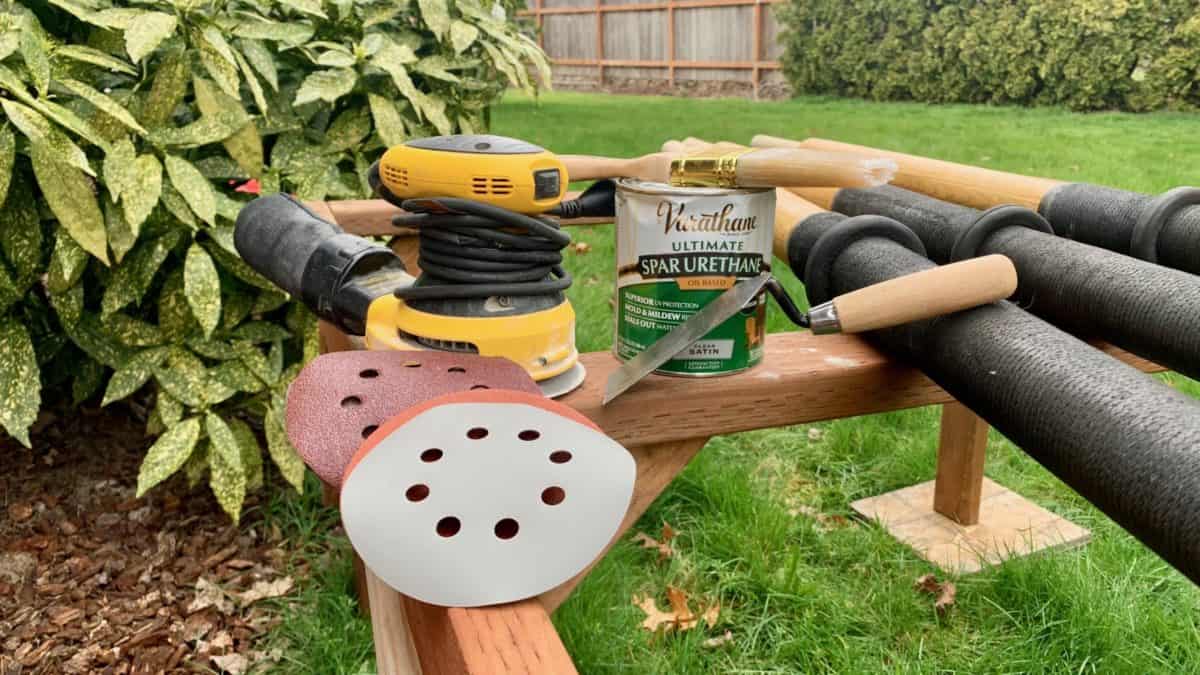
Repair Tools
Preparation
Your main goal here is to remove all of the large chips of finish or paint that might remain. The amount of time this step takes is based on what you are starting with. Getting it all off prior to sanding makes the sanding steps go a little bit quicker. You will noticed the oars I started with had some chipping of old finish but not a ton.
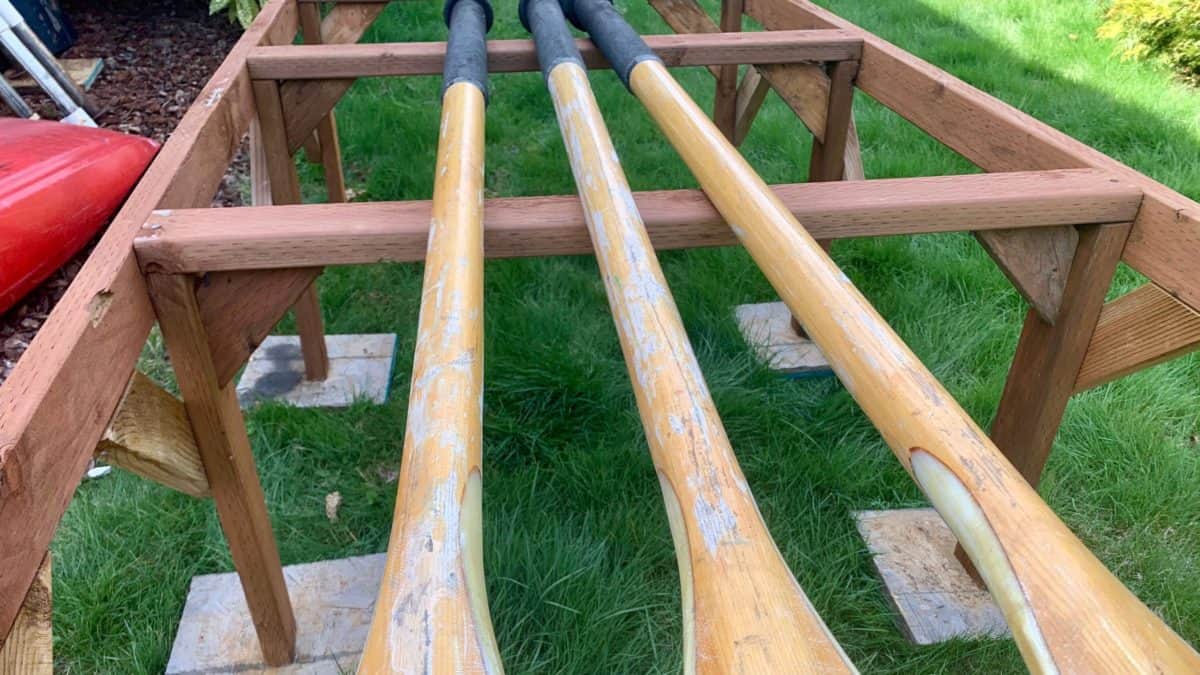
Scrap off the old finish
Sanding
Remove all of the remaining finish and smooth out any dings or rough spots. I started with 60 grit and it did a pretty good job of removing everything. I would wipe the oar down with a damp cloth every so often to check my progress. This was by far the more time consuming part of the project. Once I had all of the old varnish removed I went over things again with 220 grit. I smoothed everything out with 320 grit sand paper. I was worried about sanding things down too much and having flat spots. However, that didn't seem to be a problem at all. Bleach water or deck cleaner can help remove any water damage stains.
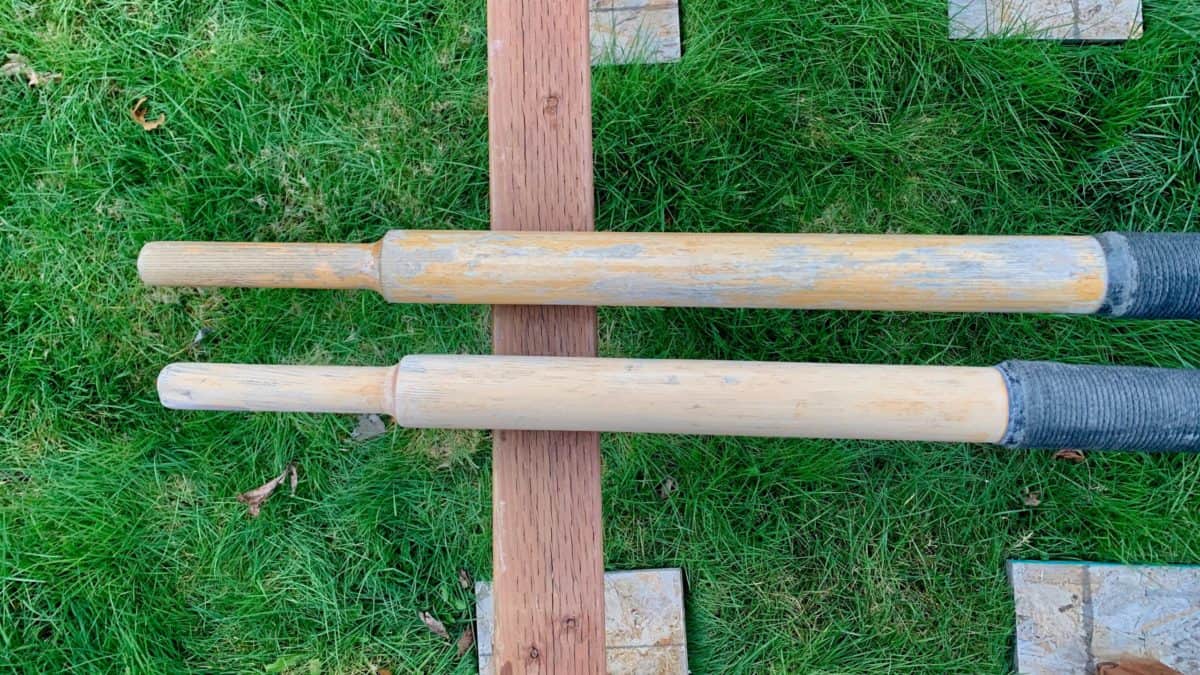
Sand everything down
Finish
I choose to use spar urethane. Another common finish is spar varnish. Both spar urethane and spar varnish projects against UV and water. Spar varnish is more susceptible to chipping compared to spar urethane. The chipping factor is the reason I decided to try spar urethane. Apply a thin coat with long brush strokes. It is really helpful to start with a small amount to avoid excess and dripping. Remember you will be applying a couple of coats so don't load it on all at one. Just because I have the time I put 4 thin coats on. I also left the handles bare to avoid a slippery grip. Feel free to add a coat or two, the slippery feel will likely wear off after a bit of rowing.
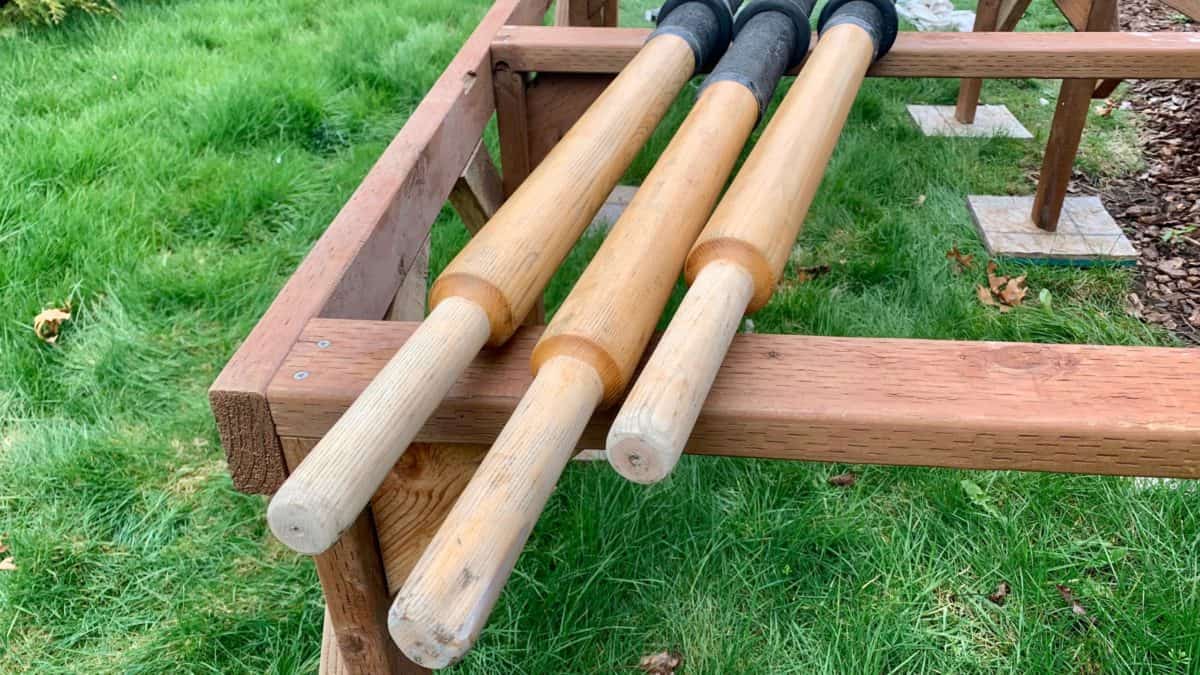
All varnished up
This particular set of oars has been finished with a fiberglass on the blades. Added protection and durability, but the repair is more than just sanding and varnish. Check out the next blog as I finish off the oars with some new fiber glass on the blades.