Pro Tips: How To Wash Camp Dishes
Whether you’re cooking for two or thirty, the 4-bucket dishwashing system keeps your camp kitchen clean, efficient, and safe. Here's a breakdown of each step, plus some hot tips to keep your cleanup smooth and sanitary.

Dish time!
Bucket 1: The "Mank Bucket" (Hot, Soapy Water)
This is your first line of defense. It’s where the sauce, syrup, and leftover food bits start their demise. On particularly messy nights—think chili night for a group of 30—you might need to strain or even replace this bucket halfway through. Don’t be afraid to strain, dump, and restart when the water gets too manky.
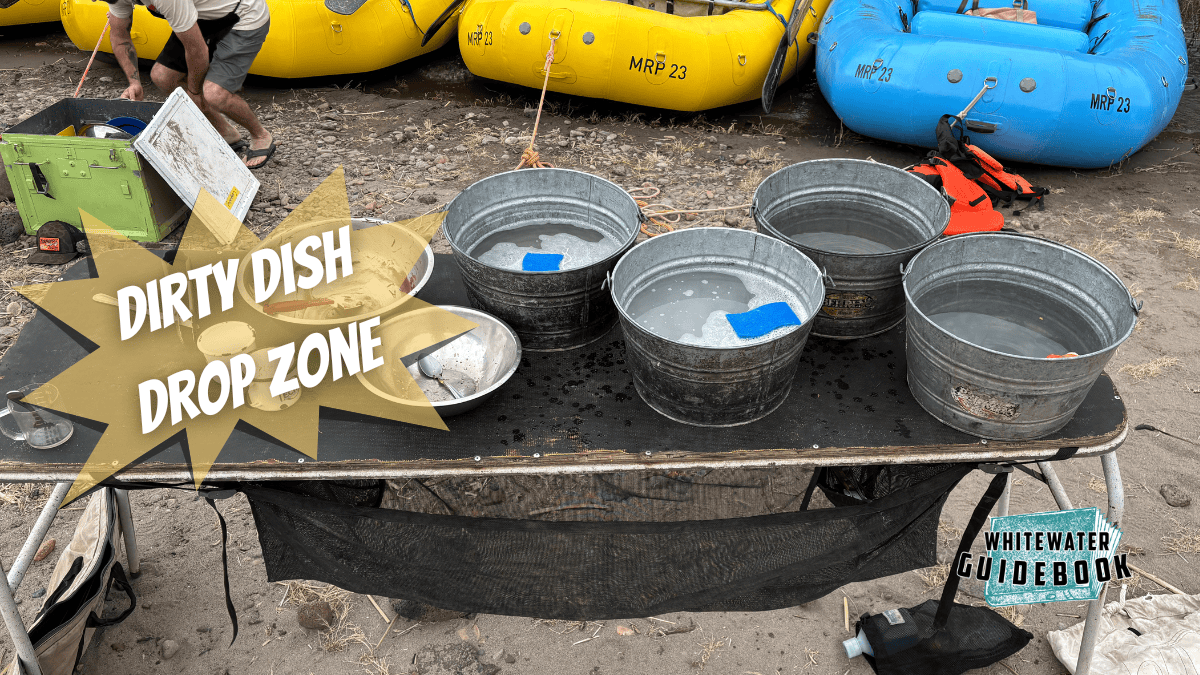
Dirty dish drop zone
Use a rubber spatula to scrape scraps into the trash before they hit the buckets. This keeps your water cleaner and your scrubbing easier.
Bucket 2: Scrub Station (Hot, Soapy Water)
This bucket also has hot, soapy water for a good scrubbing. Dish soap, sponge, and elbow grease is crucial to this bucket. You’re getting rid of grease, food particles, and making sure the dish is truly clean before rinsing.
Do your dirtiest dishes last. This keeps your water cleaner for longer.

Where does the soap go?
Off set the buckets(like the photo above) to give yourself more room to stage dirty dishes
Bucket 3: Rinse Station (Hot Water, No Soap)
Here’s where you do a quick dunk to rinse off any remaining soap before moving to the final sanitizing step. No sponge needed—just a thorough dunk. You man need to change this bucket out as it can often start looking like a soapy wash bucket.
Bucket 4: Sanitizing Bucket (Cold Water + Bleach)
A final dunk in a cold water + bleach solution ensures your dishes are fully sanitized. 1/3 if a cup of bleach for a gallon of water will do the trick for sanitize all of your dishes and surfaces. After this step, dishes go straight into the drying rack—clean, safe, and ready for the next meal. If you need to dry something it is best to use a paper towel and not a sketchy you found in the kitchen box.
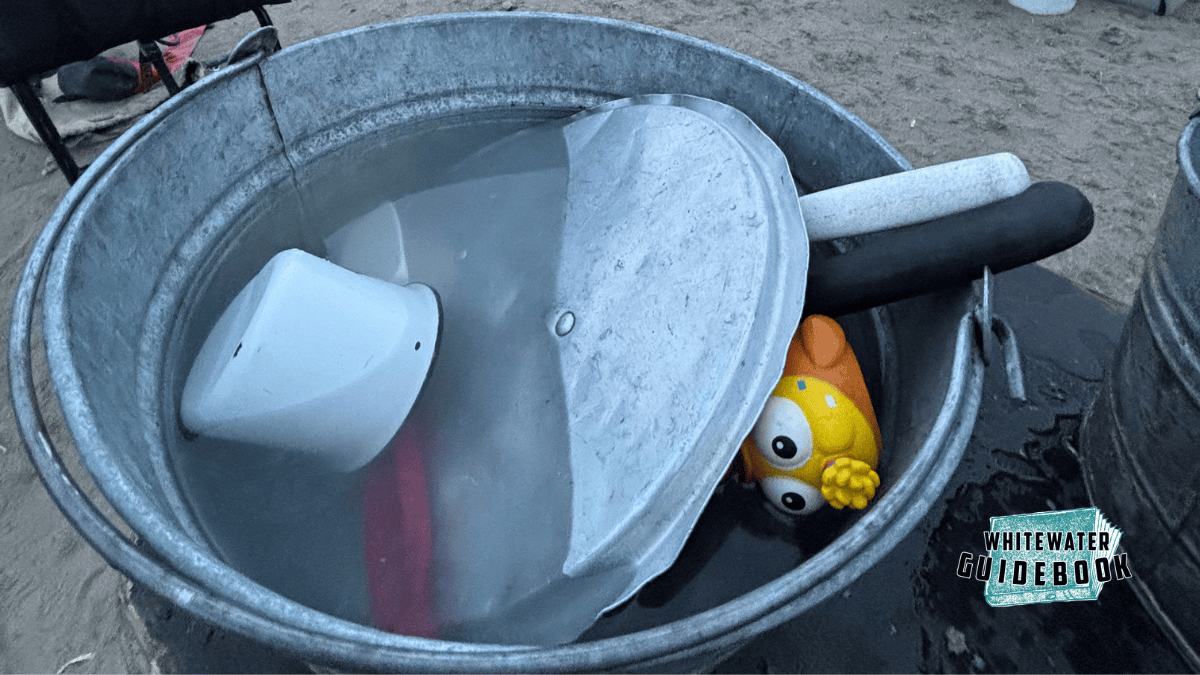
A nice cold bleach soak
Sharp knives? Don’t toss them loose in the drying rack. Put them back where they belong right away for safety
With just a bit of prep and the right system, post-meal cleanup can go from dreaded chore to smooth operation. Happy dishwashing!